
Product workflow
How It Works
ClipForge keeps the source, transcript, edit decisions, rendered output, and publishing status in one local project.
-
01
Choose a local workspace
ClipForge starts with a folder on your computer. Each project keeps its source files, transcripts, edit decisions, renders, and job history together so you can inspect and move your work without depending on a hosted media library.
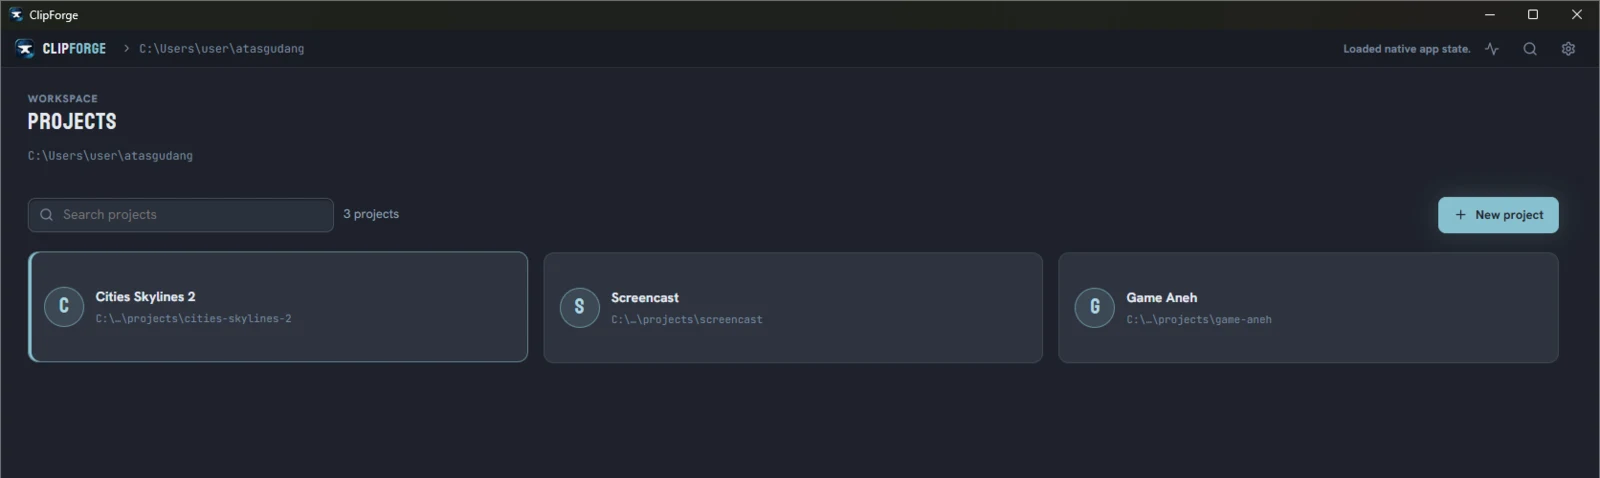
Start from a workspace you control. Search existing projects or create a new one inside the local folder you selected. -
02
Import media you can use
Add an original video or audio file, or material you have permission to edit. ClipForge reads the technical details and creates local previews and thumbnails for the selected project.
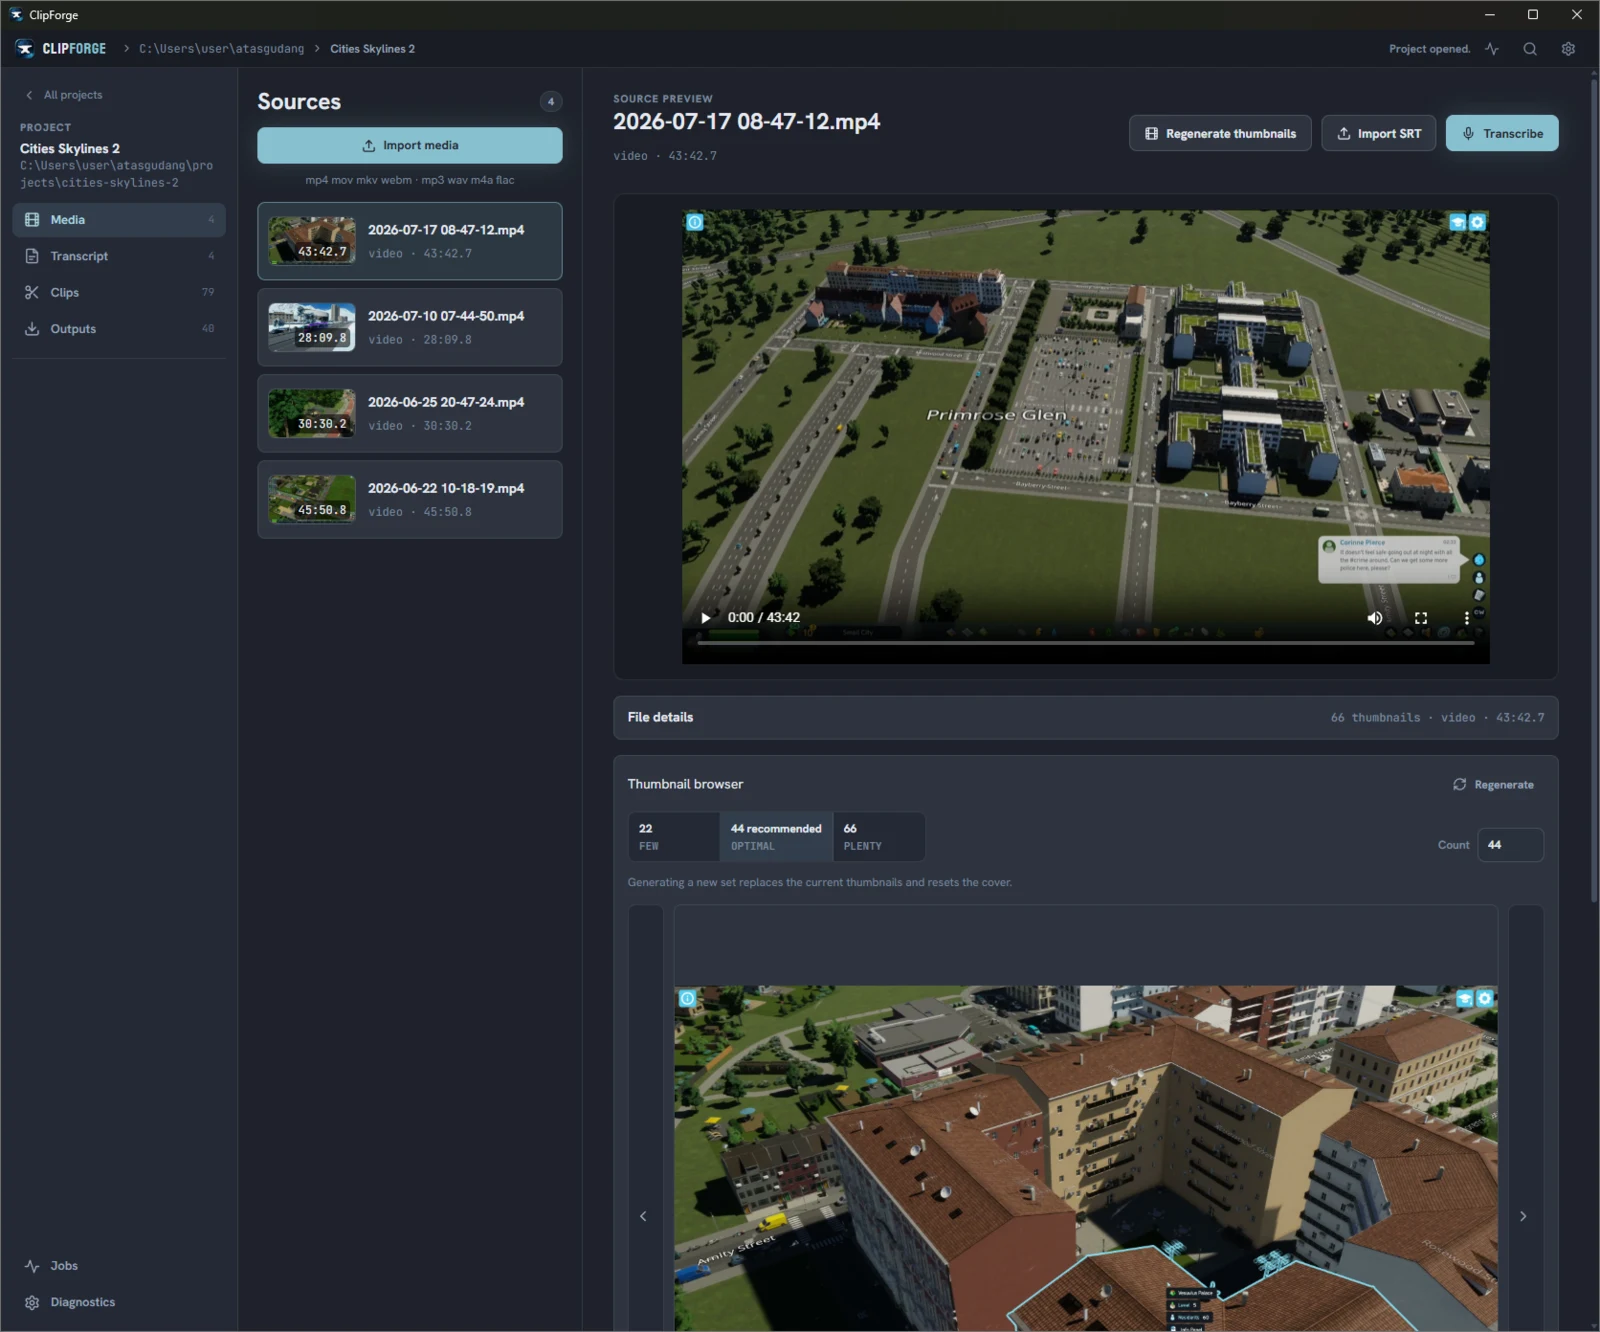
Inspect each source before editing. Play the file, review its details and thumbnails, then import or generate the transcript used by the project. -
03
Build and review the transcript
Generate a transcript through a configured provider or import an existing SRT file. Edit the text and align word timing when you need timed captions.
-
04
Find and shape a short clip
Create highlight candidates from the transcript, then preview the source range, adjust the timing, rename the candidate, and decide what belongs in the final cut.
-
05
Render and inspect the result
Render a vertical clip with captions, then play the output before publishing. The finished file remains in your chosen project workspace.
-
06
Approve the destination
When you publish, ClipForge shows the selected account, media preview, editable post details, and platform controls. Nothing is transferred until you approve the final action. ClipForge then shows the resulting status.
Publishing integrations
Use the destination that fits the post.
Upload or schedule on YouTube, create or schedule Typefully drafts for X and Threads, or use TikTok's creator-specific posting controls. Each destination receives only the output and details you approve.
Compare the integrations